![]()
Openstack
Our OpenStack environment EODC Compute is available at compute.eodc.eu.
OpenStack is an open-source cloud operating system consisting of various components that manage virtualised compute, network and storage resources. EODC operates an OpenStack environment to provide cloud infrastructure to our users.
Getting access
To work with your cloud infrastructure, we set up an OpenStack project (also known as a tenant) for your company or research project. A project is a logical group of users and resources that is isolated from other projects. Each project has its own users, who can launch virtual machines and manage networks and storage.
Accessing the project is possible via the OpenStack Dashboard (Horizon) or the OpenStack API.

Creating an instance via the Dashboard
The walkthrough below covers launching a virtual machine through Horizon, from login to a running instance reachable via SSH.
Prerequisites
An EODC account
A Project assigned to your account. Without a project you cannot launch instances.
An SSH key pair. You can either bring an existing public key or let the wizard generate one for you.
1. Log in to Horizon
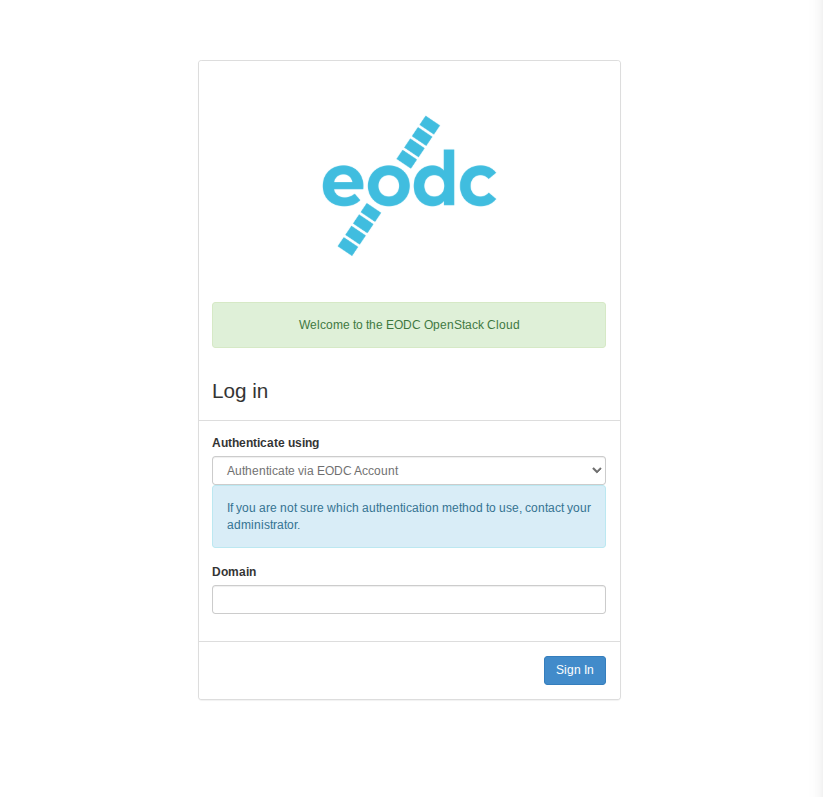
Open compute.eodc.eu. Choose Authenticate via EODC Account, leave the Domain field blank, it will use the default eodc-eu then click Sign In.
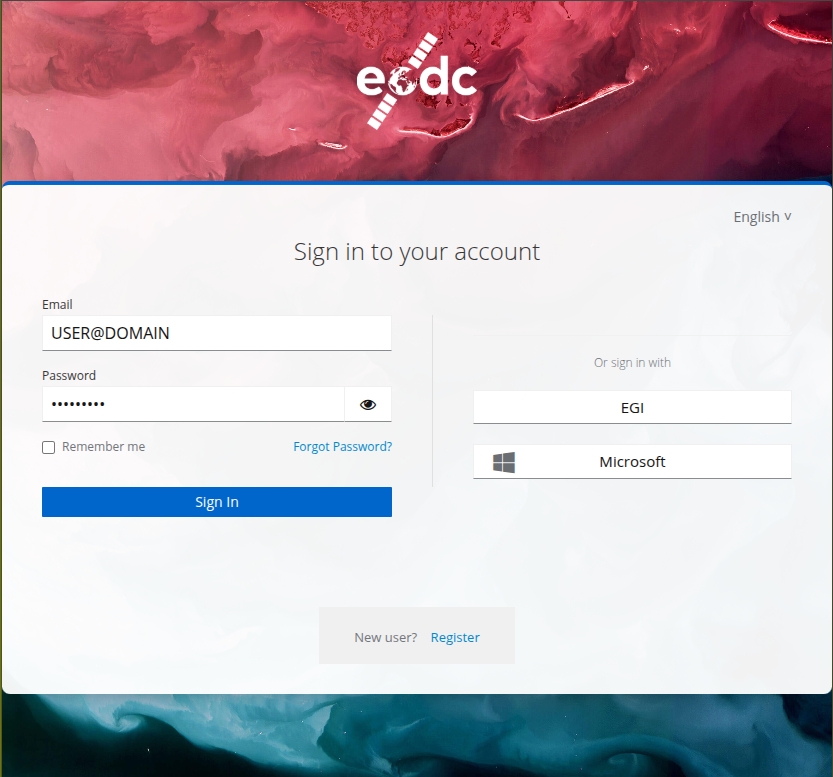
You are forwarded to the EODC identity provider. Sign in with your email and password.
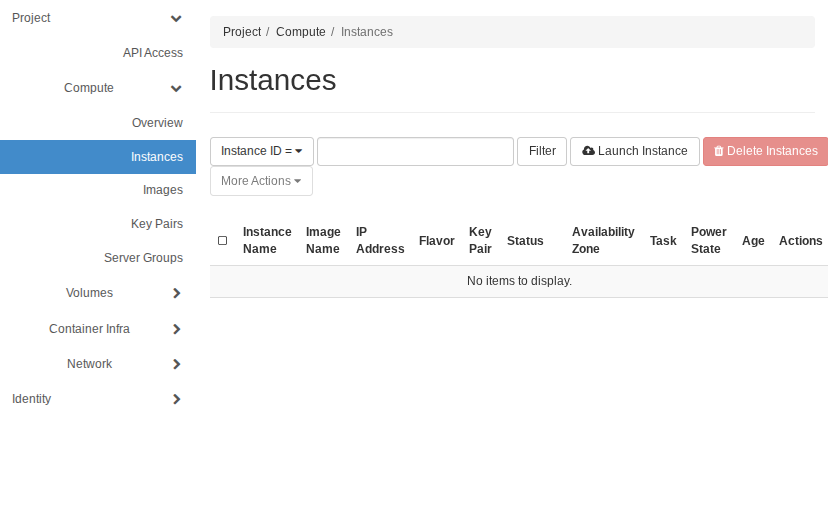
2. Open the Instances view
In the left sidebar navigate to Project → Compute → Instances. New projects start with an empty list. Click Launch Instance in the top right to open the wizard.
3. Walk through the Launch Instance wizard
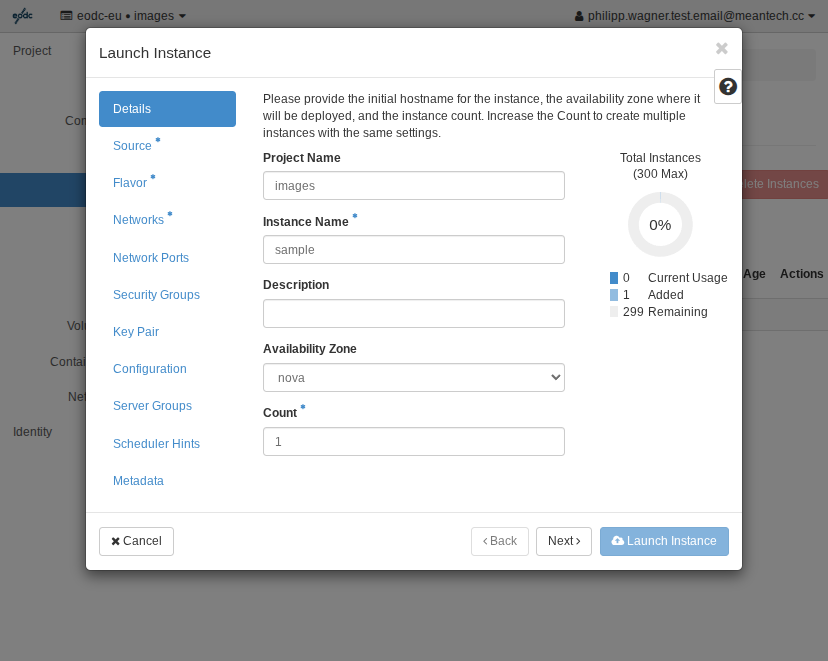
Details
Give the instance a name (e.g. sample), keep Count at 1 and the Availability Zone at nova.
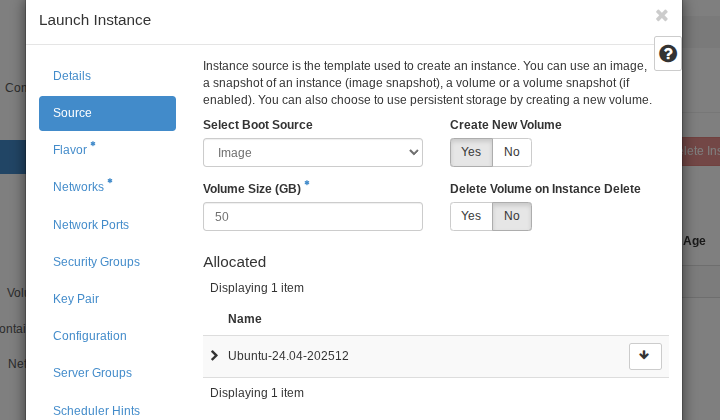
Source
Select Image as the boot source and pick the OS image you want (e.g. Ubuntu-24.04). Set Create New Volume = Yes and choose a volume size large enough for your workload (50 GB is a reasonable default). Leave Delete Volume on Instance Delete on No if you want the disk to survive instance deletion.
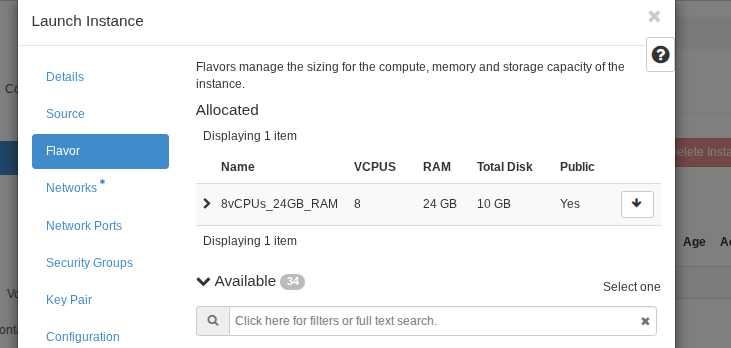
Flavor
Pick a flavor that matches your CPU / RAM / disk needs. The example below uses 8vCPUs_24GB_RAM. Filter by name if the list is long.
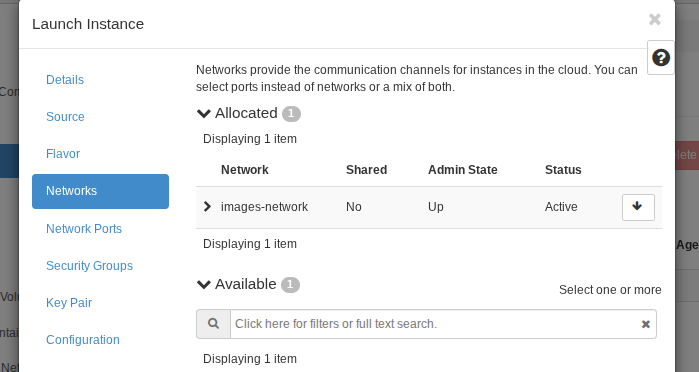
Networks
Allocate your project network. The name follows the pattern <project-name>-network (the example shows images-network because the project is called images), so the suffix you see will reflect your own project name. This connects the instance to your project’s internal network. A public IP is added later.
Key Pair
Select an existing key pair, Import Key Pair to upload your public key, or Create Key Pair to have OpenStack generate one (download the private key, you cannot retrieve it later).
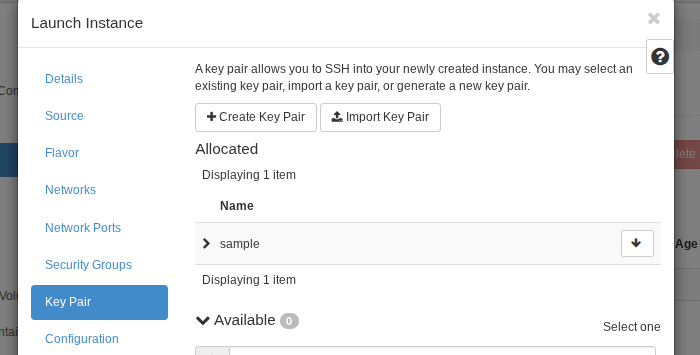
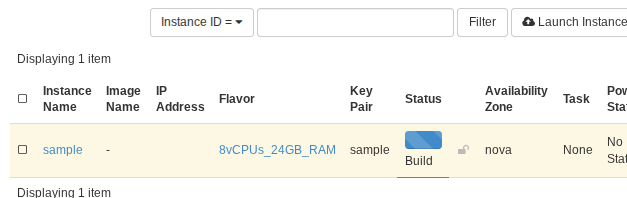
Once the key pair is allocated, click Launch Instance. The instance appears in the list with status Build while it is being provisioned.
4. Attach a floating IP
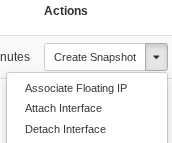
The instance now only has an internal address. To reach it from the internet, open the Actions dropdown on the instance row and choose Associate Floating IP.
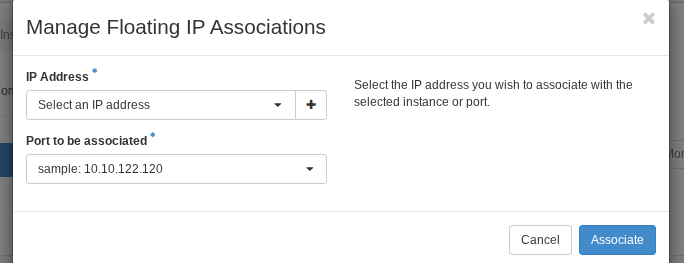
In the dialog, pick an IP from the project’s pool (or click the + button to allocate a new one) and confirm the port. Click Associate.
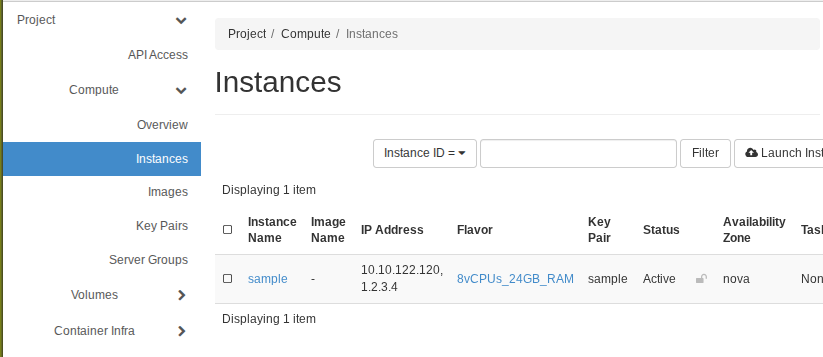
The instance row now shows both the internal address and the floating IP, and the status flips to Active.
5. Connect
SSH in using the private key that matches the key pair you selected:
If you let openstack create a key for you, the private key is in your Downloads folder.
Change the path for the -i flag to point to your private key.
ssh -i ~/.ssh/<your-key> eodc@<floating-ip>
The default login user on EODC images is eodc. It is created at first boot by cloud-init and can be changed by overriding the cloud-init users configuration when launching the instance (Wizard step Configuration → Customization Script) or by editing it on the running VM.
Read more