How to use OpenStack
Creating an instance via the Dashboard
The walkthrough below covers launching a virtual machine through Horizon, from login to a running instance reachable via SSH.
Prerequisites
An eodc account
A Project assigned to your account. Without a project you cannot launch instances.
An SSH key pair. You can either bring an existing public key or let the wizard generate one for you.
1. Log in to Horizon
Open compute.eodc.eu. Choose Authenticate via EODC Account, leave the Domain field blank (it will use the default eodc-eu), then click Sign In.
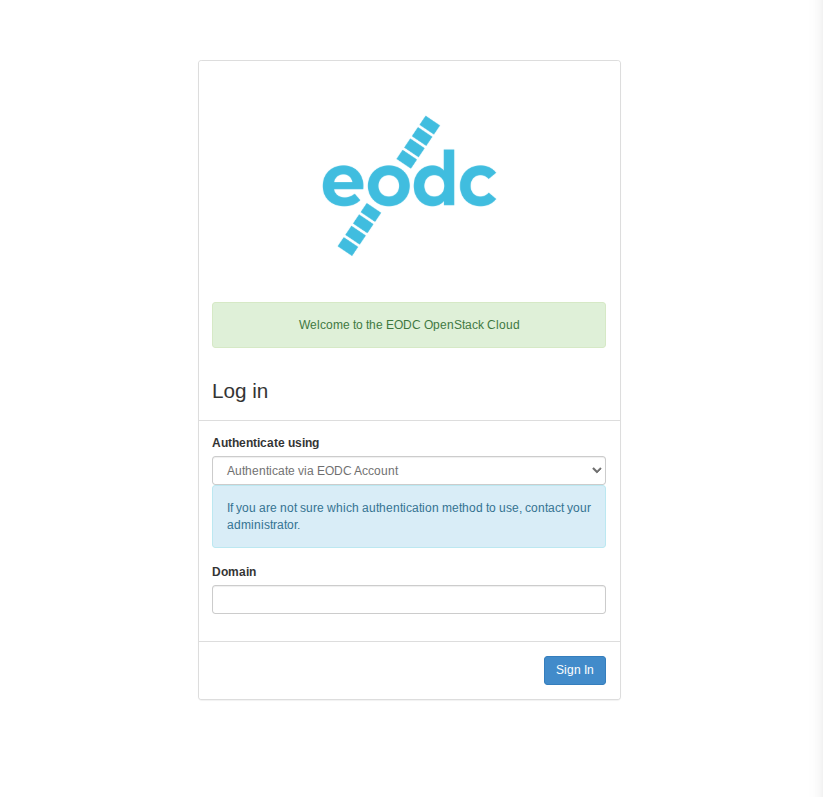
You are forwarded to the eodc identity provider. Sign in with your email and password.

2. Open the Instances view
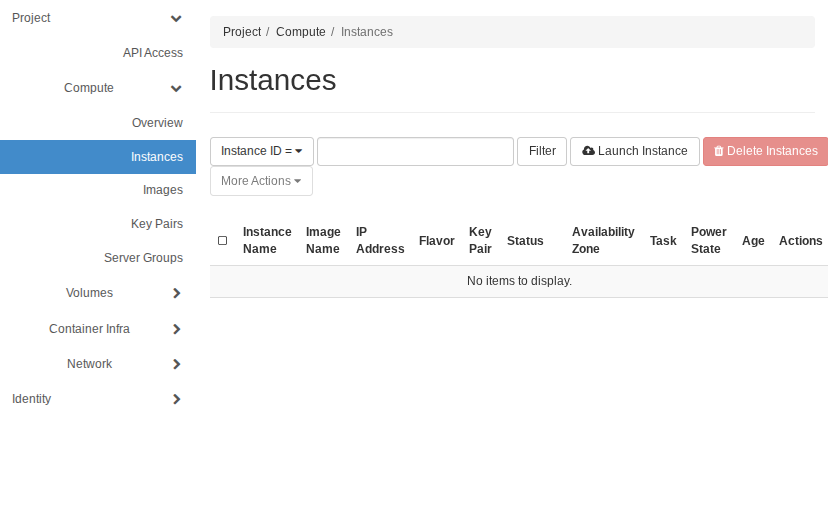
In the left sidebar navigate to Project → Compute → Instances. New projects start with an empty list. Click Launch Instance in the top right to open the wizard.
3. Walk through the Launch Instance wizard
Details
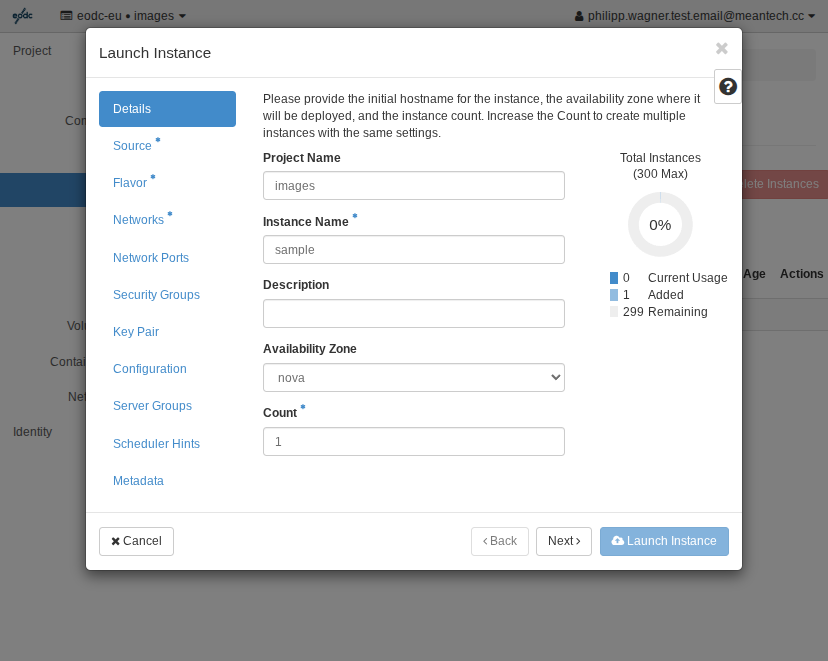
Give the instance a name (e.g. sample), keep Count at 1 and the Availability Zone at nova.
Source
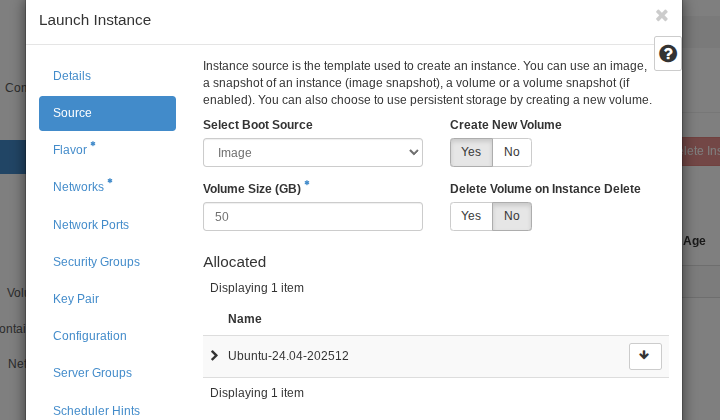
Select Image as the boot source and pick the OS image you want (e.g. Ubuntu-24.04). Set Create New Volume = Yes and choose a volume size large enough for your workload (50 GB is a reasonable default). Leave Delete Volume on Instance Delete on No if you want the disk to survive instance deletion.
Flavor
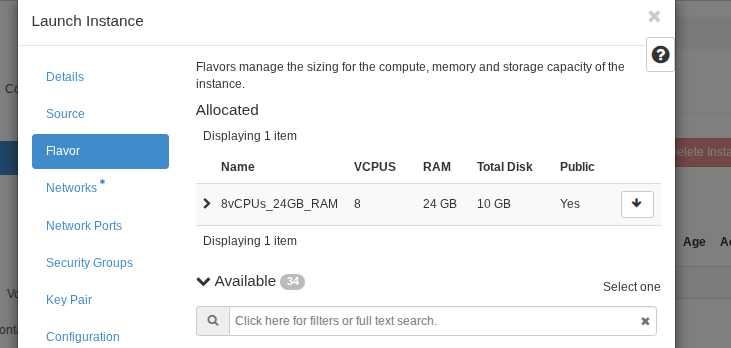
Pick a flavor that matches your CPU / RAM / disk needs. The example below uses 8vCPUs_24GB_RAM. Filter by name if the list is long.
Networks
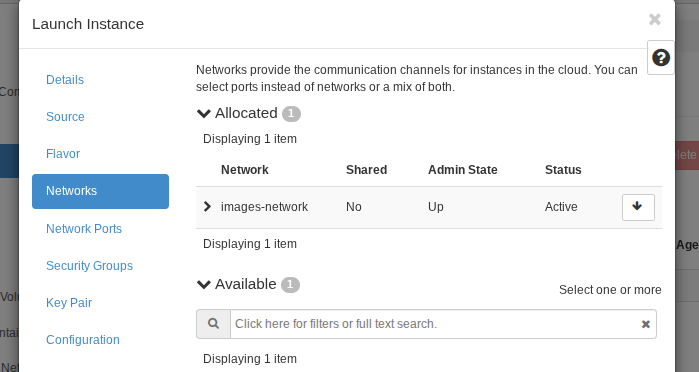
Allocate your project network. The name follows the pattern <project-name>-network (the example shows images-network because the project is called images), so the suffix you see will reflect your own project name. This connects the instance to your project’s internal network. A public IP is added later.
Key Pair
Select an existing key pair, Import Key Pair to upload your public key, or Create Key Pair to have OpenStack generate one (download the private key, you cannot retrieve it later).
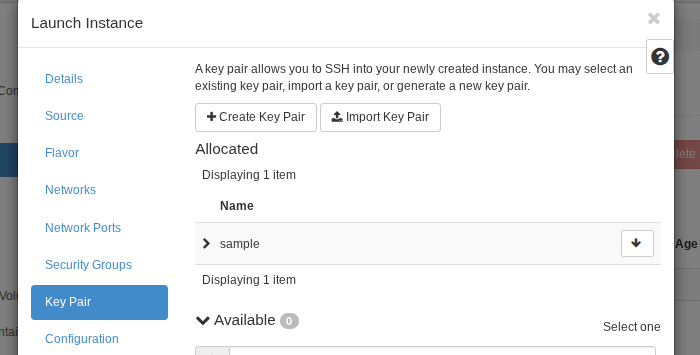
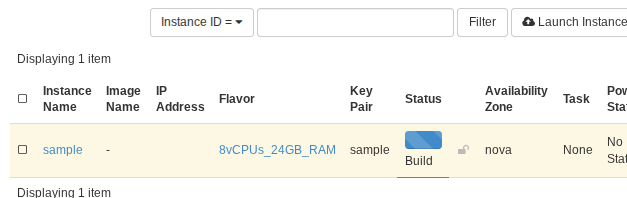
Once the key pair is allocated, click Launch Instance. The instance appears in the list with status Build while it is being provisioned.
4. Attach a floating IP
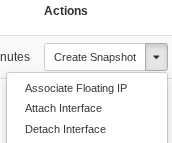
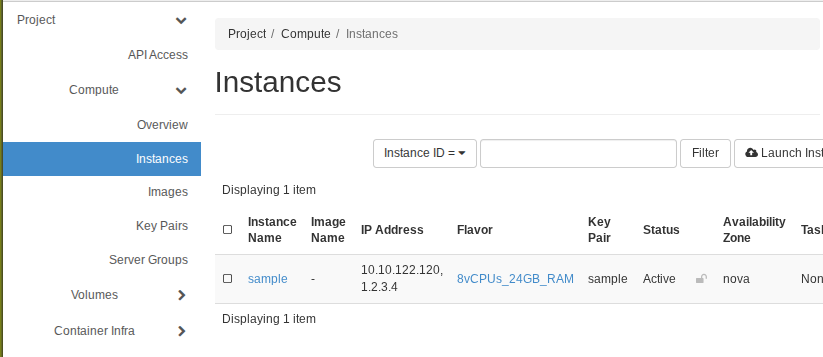
The instance now only has an internal address. To reach it from the internet, open the Actions dropdown on the instance row and choose Associate Floating IP.
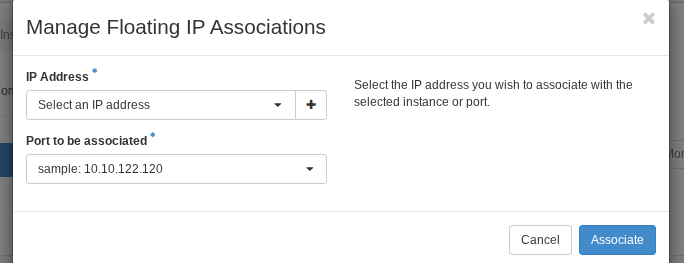
In the dialog, pick an IP from the project’s pool (or click the + button to allocate a new one) and confirm the port. Click Associate.
The instance row now shows both the internal address and the floating IP, and the status flips to Active.
5. Connect
SSH in using the private key that matches the key pair you selected:
If you let OpenStack create a key for you, the private key is in your Downloads folder. Change the path for the -i flag to point to your private key.
ssh -i ~/.ssh/<your-key> eodc@<floating-ip>
The default login user on eodc images is eodc. It is created at first boot by cloud-init and can be changed by overriding the cloud-init users configuration when launching the instance (Wizard step Configuration → Customization Script) or by editing it on the running VM.
Load Balancers
Load Balancing in OpenStack is made possible by the Octavia service.
In this guide, you will learn how to create a load balancer to distribute network traffic between two instances. The example load balancer created will listen on an external, publicly reachable IP address and route packets in a round-robin fashion across two instances on an internal private network.
Prerequisites
Before getting started, the OpenStack project’s quotas may need to be adjusted and you should have an SSH key added.
Project quota — before creating a load balancer, ensure your project’s quotas are set appropriately. To see current project quotas, navigate on compute.eodc.eu to Compute > Overview. To adjust project quotas, simply write an email with your required quota to support@eodc.eu. This guide requires the following resources:
2 instances
2 VCPUs
2GB RAM
50GB disk space
At least one floating IP
1 network
1 router
Project roles — to create a load balancer, the project user must be the project owner or the user’s role must be set to load-balancer_admin.
SSH key — you will need an SSH public key added to the project to access the instances over SSH to install NGINX.
Prepare network, router, and security groups
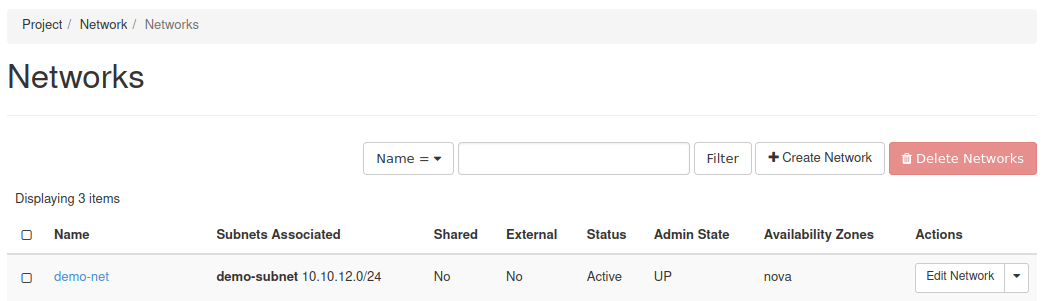
To get started, you need to create a private network. Navigate to Project → Network → Networks in Horizon and follow the Create Network link. This example uses the private network called test-net with subnet 192.168.99.0/24:
After creating the private network, a router needs to be made. The purpose of the router is to bridge the External network with the private one. To make the router, navigate to Project → Network → Routers in Horizon and follow the Create Router link. This example uses a router called router-1 which connects the External network and test-net networks together.
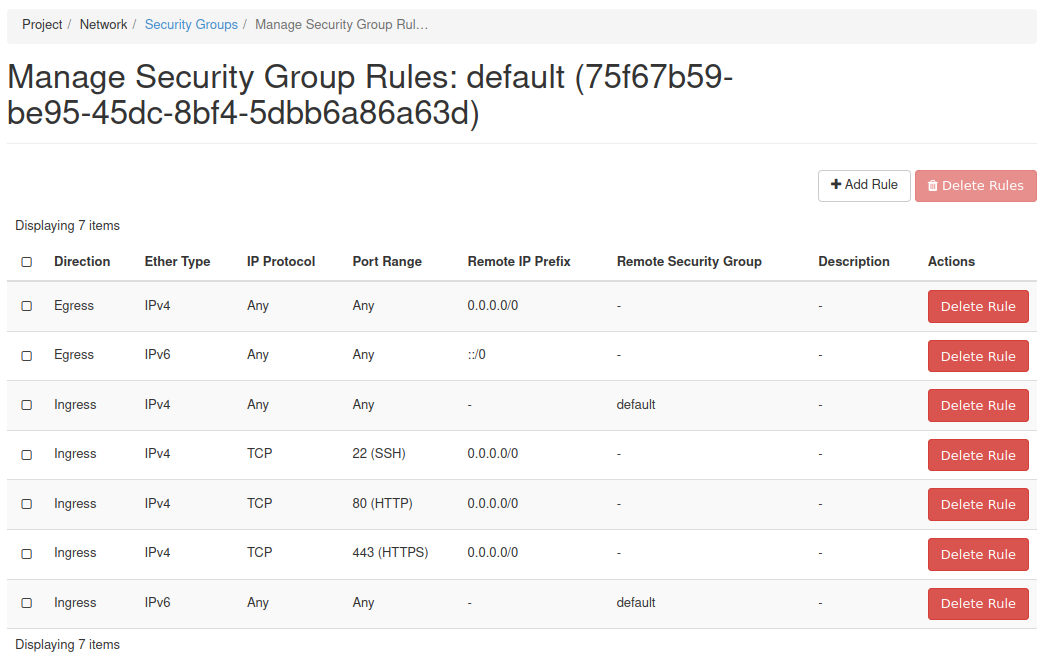
The instances will require inbound network traffic for HTTP, HTTPS, SSH, and ICMP. You will need to create security groups allowing inbound traffic for each type. For this example, a single security group has been created allowing inbound traffic for HTTP, HTTPS, SSH, and ICMP:
Create and prepare instances
This load balancer will balance the load between two instances. Each will run Ubuntu with a basic NGINX installation.
Create two instances using these details:
Operating System: Ubuntu 20.04 (focal-amd64)
Flavor: your preferred flavor
Network: the private network previously created
Security Group: inbound HTTP, HTTPS, SSH, ICMP
SSH key: a key you can use to access instances over SSH
You can specify multiple instances at once in the instance creation form using the Count option.
Once the instances are ready, assign a floating IP address to each one so you can access them with SSH. To access instances without floating IPs you can use the floating IP of another instance as a jump host: ssh -J user@floatingIP user@internalIP.
Using each instance’s floating IP, access each one and install NGINX:
ssh eodc@<floating-ip>
sudo su -
apt-get update && \
    apt-get install -y nginx && \
    echo $(hostname) > /var/www/html/index.html
The above uses SSH to log in to one of the servers, then logs in as root, installs NGINX using apt-get, and creates a basic, unique webpage with the server’s hostname as output. This needs to take place on both servers.
Create the load balancer
With the previous steps complete, everything is prepared to create the load balancer.
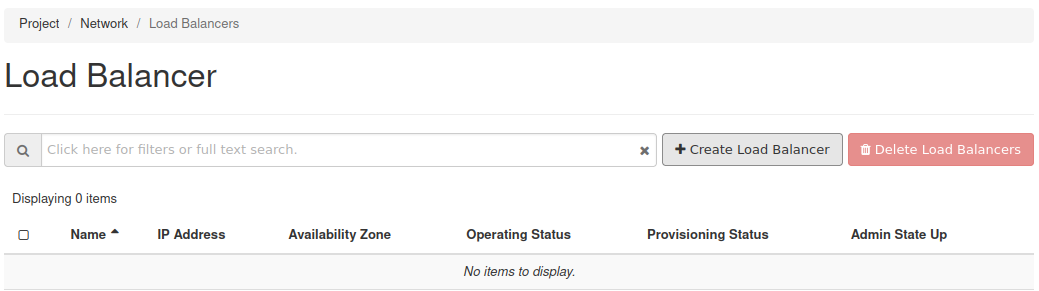
Step 1 — Navigate to the Load Balancer form. To create a load balancer navigate to Project > Network > Load Balancers and follow the Create Load Balancer link.
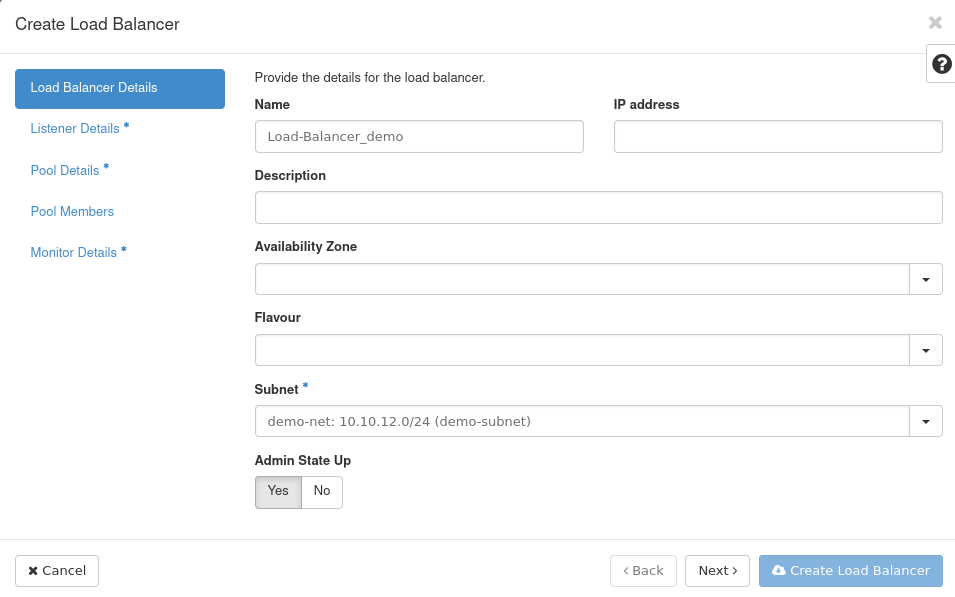
Step 2 — Load Balancer details. On the first page fill in at least a Name and set Subnet to the External network. All other details are not required for this demonstration.
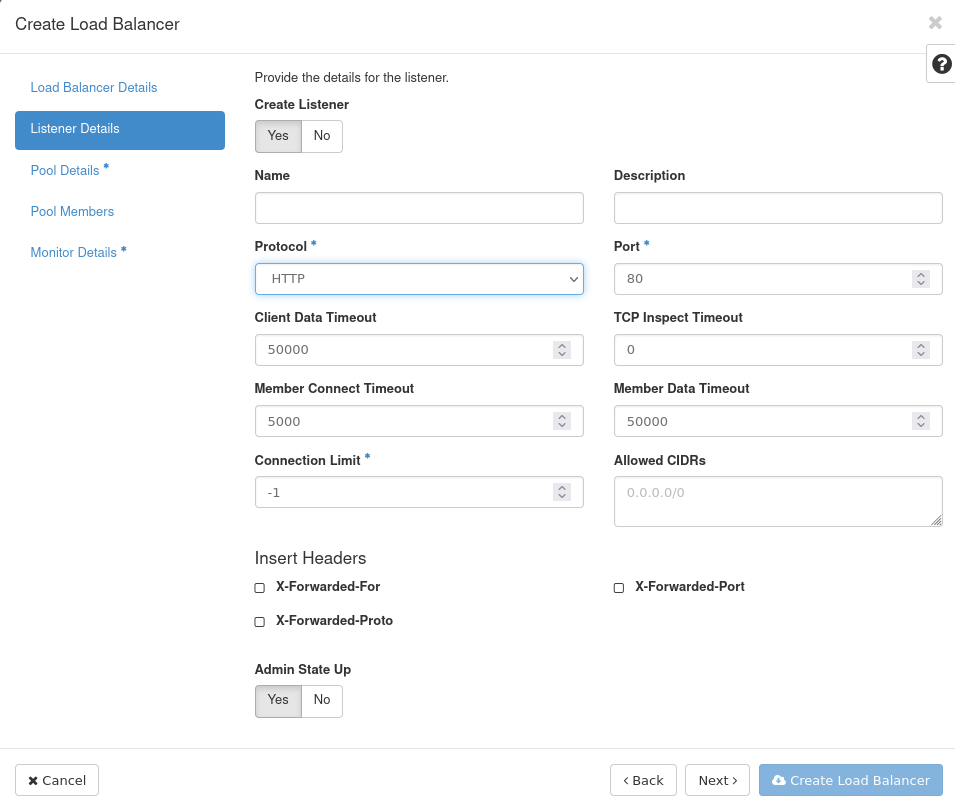
Step 3 — Listener details. Only the Protocol needs to be set, to HTTP.
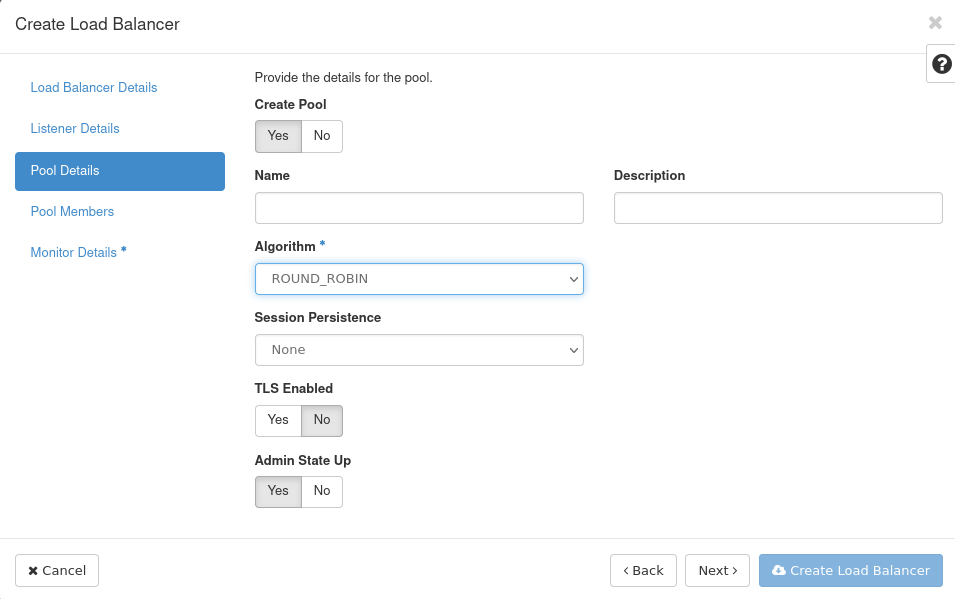
Step 4 — Pool details. Set the Algorithm to ROUND_ROBIN.
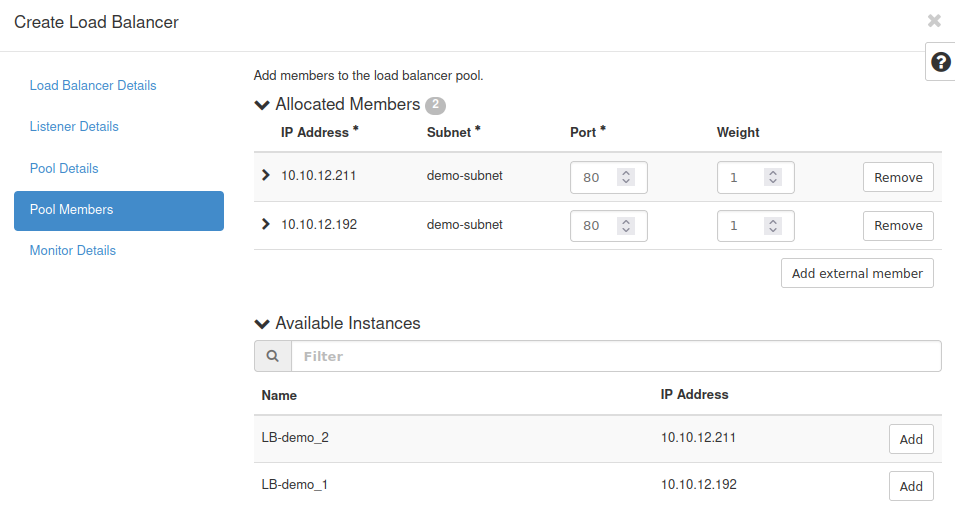
Step 5 — Pool members. Choose the two instances created for the load balancer, and set each instance’s port to 80.
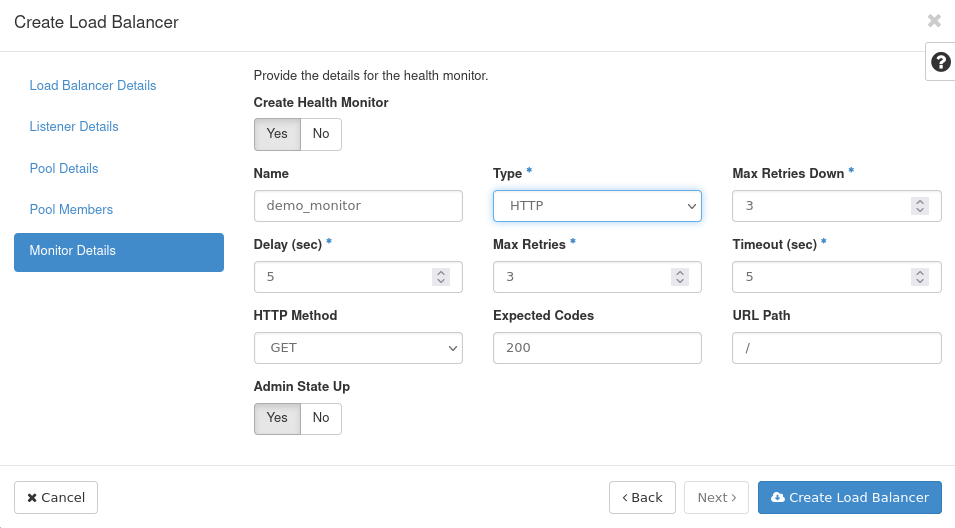
Step 6 — Monitor details. Choose a name for the monitor and set the Type to HTTP, then click Create Load Balancer.
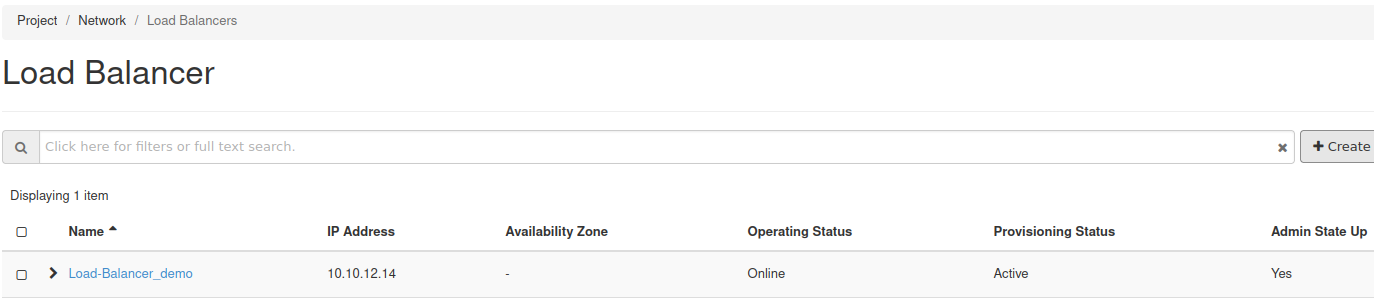
Step 7 — Verify creation. The load balancer appears in the list with Provisioning Status Pending Create. Wait for it to switch to Active.
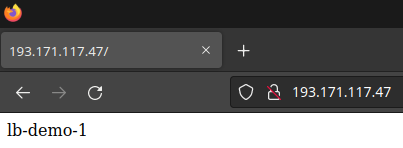
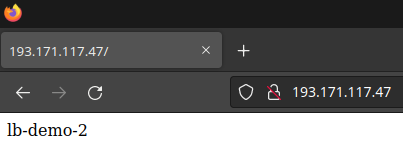
Step 8 — Test the load balancer. Look up the floating IP and open it in your browser — you should see the hostname of one of your instances, alternating on refresh.